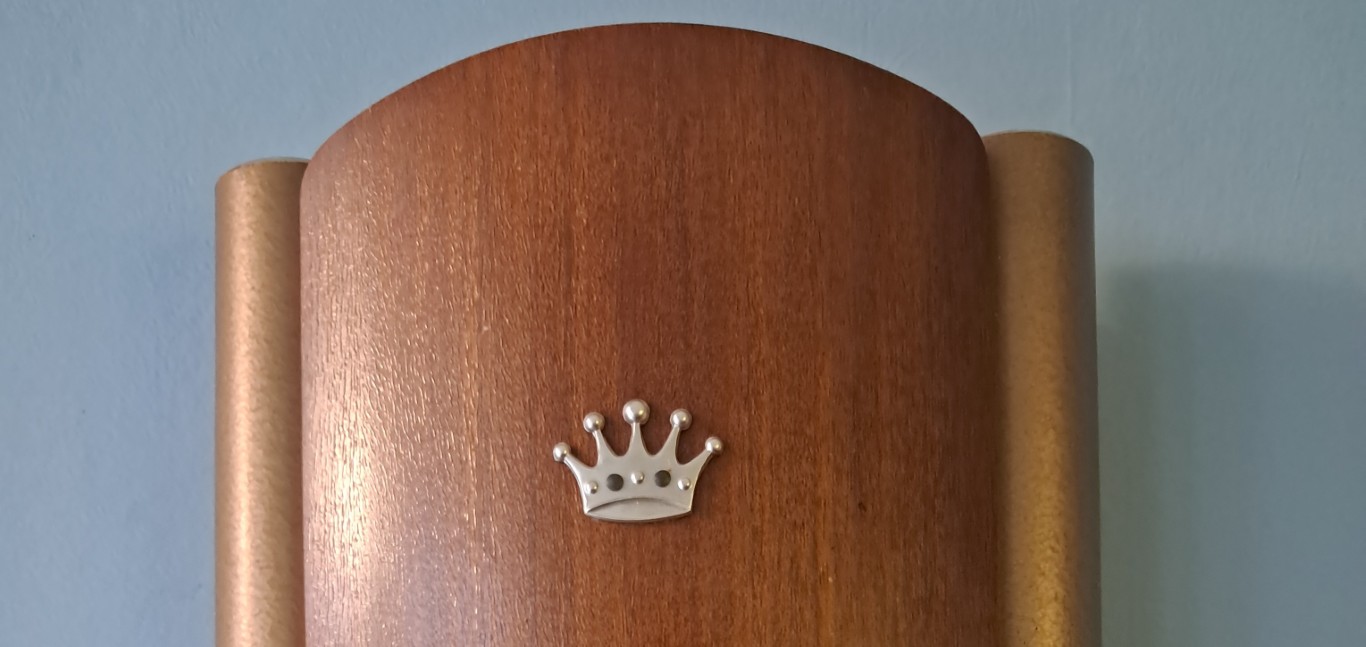
Vintage door chime upgrade
History
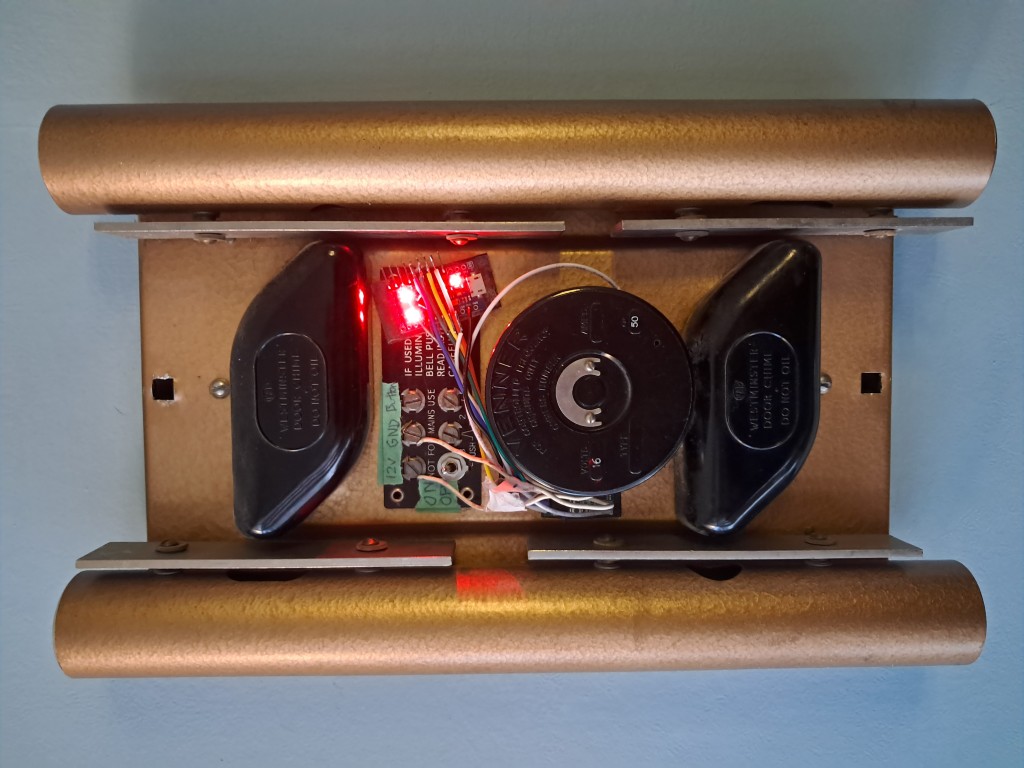
The Westminster Mark II chime was the top of the line offering from VE Friedland in the 1950s and early 1960s. The face has a mahogany veneer that covers a motored sequencer providing a musical sequence of eight notes played on four tone bars.

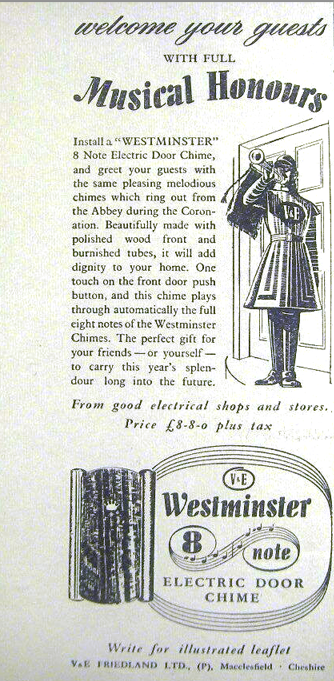
Unlike your common or garden door chime, this beauty can play two different eight-note permutations of the Westminster Quarters. The two sequences are played in rotation, with the first sequence played the first time the doorbell button is pushed and the second after the next push.
Without a doubt the dual sequence would have created great excitement to callers back in the 1950s. Imagine being treated to not just a single 8 note sequence from the 4 tones, but being treated to a second sequence when you press the button again. Sold at £8 8s (8 pounds and 8 shillings) in 1950, this would be the equivalent in purchasing power to approximately £370 in 2026!
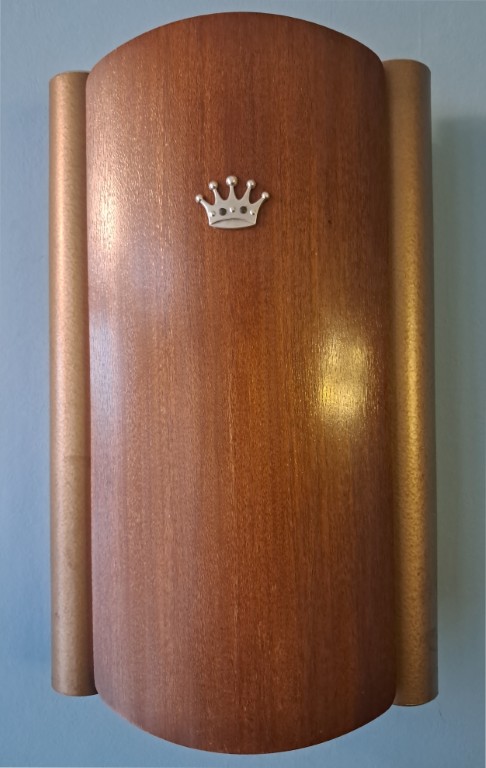
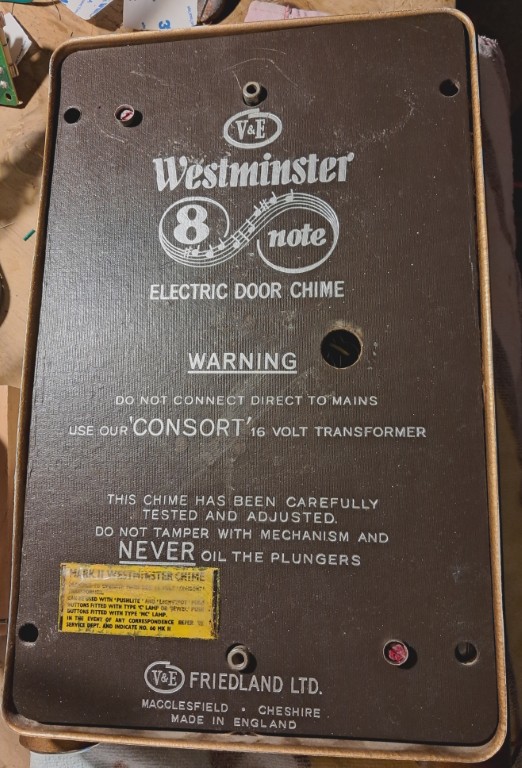
The years had taken a toll. While the motor and solenoids still worked, the unit would take half a second or more before engaging and starting the sequence. People generally don’t press a door bell for that long, and therefore it wouldn’t always ring when people pressed the button.
Controlling the bell
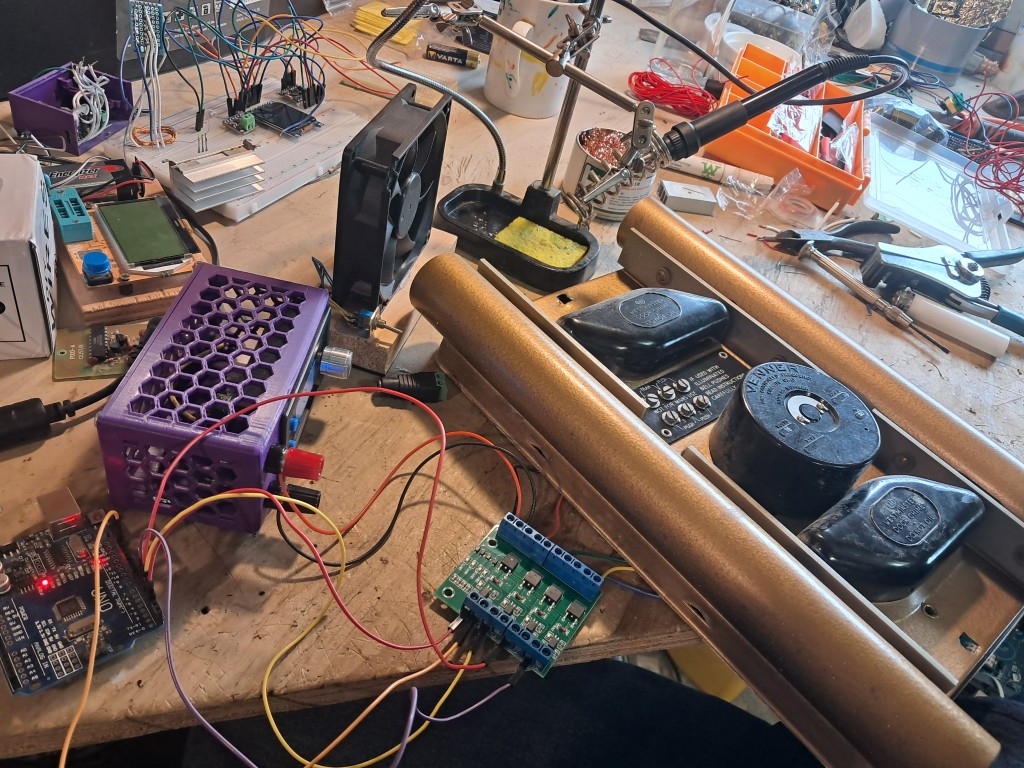
I decided to bypass the old motor sequencer and use newer methods to control the solenoids. A microcontroller is the way to go for this. However, the 3.7 volt or 5 volt output from a microcontroller cannot drive a solenoid, therefore it’s used to drive either relays or mosfets. These control the 12 volts required to the solenoids to trigger the bells.
Any small microcontroller would do here. I could have used an ESP32 C3, but I wasn’t planning on using WiFi or bluetooth for anything. So an Arduino Nano was popped in. This will allow for programmable tone sequences.
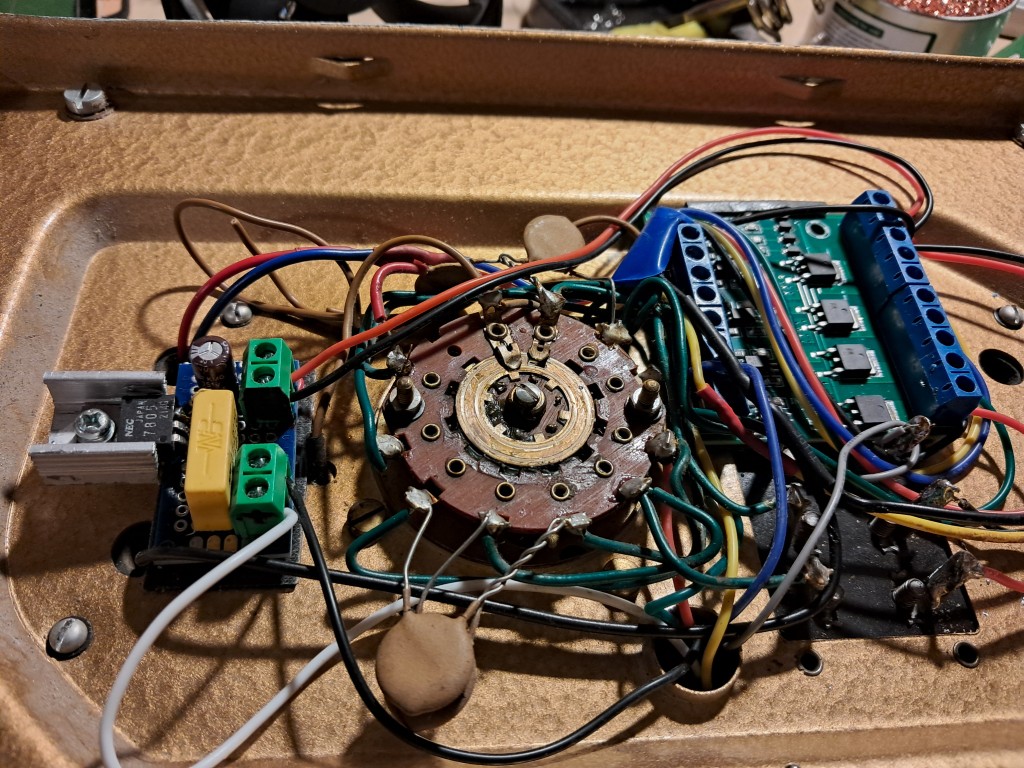
There are 4 bells - each controlled by a solenoid. This means we need 4 control modules for these. I decided on a 4-channel MOSFET driver board from AliExpress which can be triggered by a low voltage. AliExpress MOSFET board
Wiring
The unit required wiring from the button to the bell. The existing wires were old and broken somewhere in the wall. It wasn’t going to be easy to replace them. They were old solid core copper wires with a fabric casing.
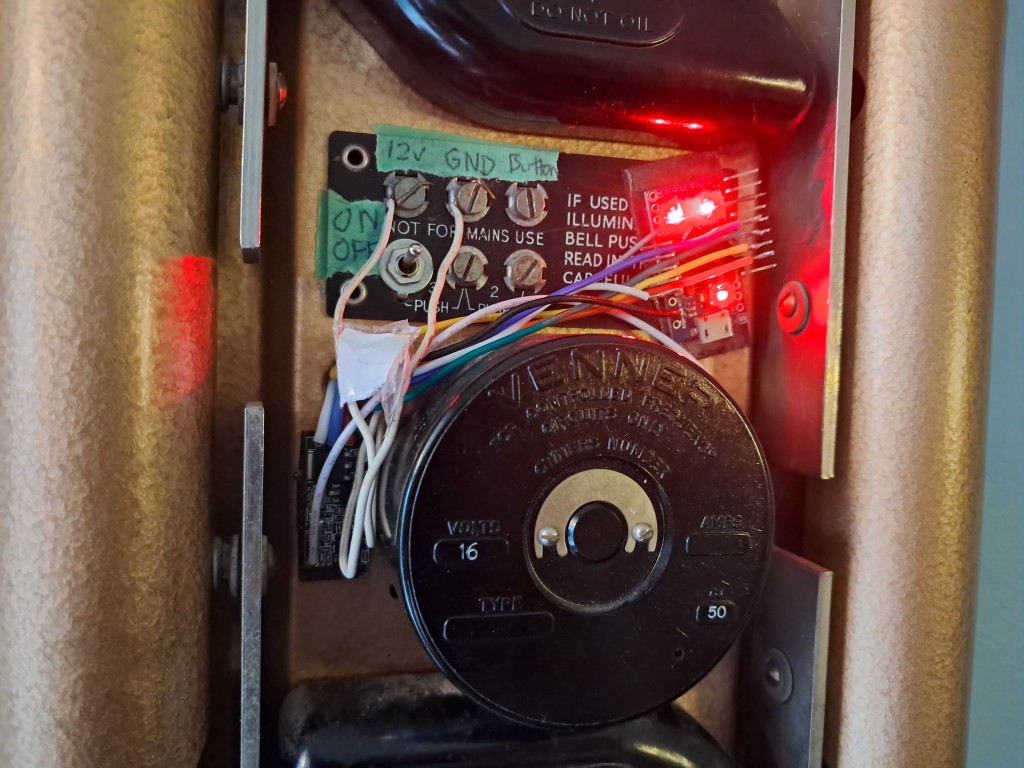
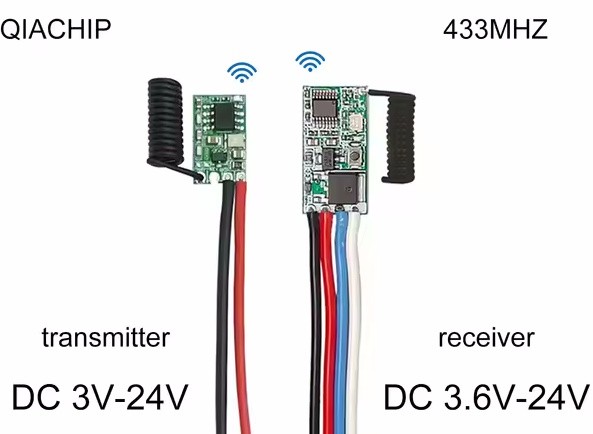
Instead I picked up a small 433Mhz radio switch trigger from AliExpress. This is connected to the switch pin in the code. AliExpress 433Mhz transmitter / receiver switch module
Building
A 240 volt AC to 12 volt DC power supply is used to power the circuit. A 7805 voltage regulator with a 5 volt output is used to reduce the voltage for the Arduino Nano. The 12 volt supply is connected to the MOSFET board, along with the Arduino Nano.
Sample sounds
Source code
https://github.com/andyvans/ArduinoProjects/blob/master/DoorBell/doorbell.ino
// Pin definitions
int Bell1 = 2;
int Bell2 = 3;
int Bell3 = 4;
int Bell4 = 5;
int Button = 7;

// Song definitions (note:duration format)
const char* Mcdonalds = "1:125,2:250,3:250,4:250,3:1000";
const char* Original = "4:750,2:750,3:750,1:1500,1:750,3:750,4:750,2:750";
const char* Lamb = "3:500,2:500,1:500,2:500";
const char* Phone = "1:250,2:250,4:250,3:500,2:500";
const char* Chime = "1:100,2:100,3:100,4:100";
const char* Updown = "1:250,4:250,1:250,4:250";

const char* Songs[] = {Chime, Updown, Mcdonalds, Original, Lamb, Phone};
const int ArraySize = sizeof(Songs) / sizeof(Songs[0]);

const int BellsCount = 4;
const int Bells[BellsCount] = {Bell1, Bell2, Bell3, Bell4};

int nextSong = 0;

void setup()
{
    pinMode(Bell1, OUTPUT);
    pinMode(Bell2, OUTPUT);
    pinMode(Bell3, OUTPUT);
    pinMode(Bell4, OUTPUT);
    pinMode(Button, INPUT_PULLUP);
}

void loop()
{
   int buttonState = digitalRead(Button); // Read the state of the button
   if (buttonState == LOW)
   {
      auto song = Songs[nextSong];
      play(song);
      nextSong++;
      if (nextSong >= ArraySize)
      {
        nextSong = 0;
      }
   }
   delay(50);
}

void setBellsState(const char* notes, int state) {
    for (int i = 0; i < strlen(notes); i++) {
        char c = notes[i];
        int note = c - '0'; // Convert char to int
        if (note < 1 || note > 4) continue;

        Serial.print("Bell ");
        Serial.print(note);
        Serial.println(state == HIGH ? " ON" : " OFF");

        if (note < 1 || note > BellsCount) continue; // Validate note number
        int bellPin = Bells[note - 1];
        digitalWrite(bellPin, state);
    }
}

void play(const char* song) {
    // Parse the song string
    char notes[10]; // Allocate buffer for notes string
    int duration = 0;
    char* song_copy = strdup(song);
    char* token = strtok(song_copy, ",");

    while (token != NULL) {
        // Parse note:duration format
        if (sscanf(token, "%9[^:]:%d", notes, &duration) != 2) {
            token = strtok(NULL, ",");
            continue;
        }

        // Turn on all bells in the sequence at the same time
        setBellsState(notes, HIGH);

        delay(50); // Keep bells on for 50ms

        // Turn off all bells in the sequence at the same time
        setBellsState(notes, LOW);

        delay(duration); // Use total duration for the entire note sequence
        token = strtok(NULL, ",");
    }
    free(song_copy);
}